

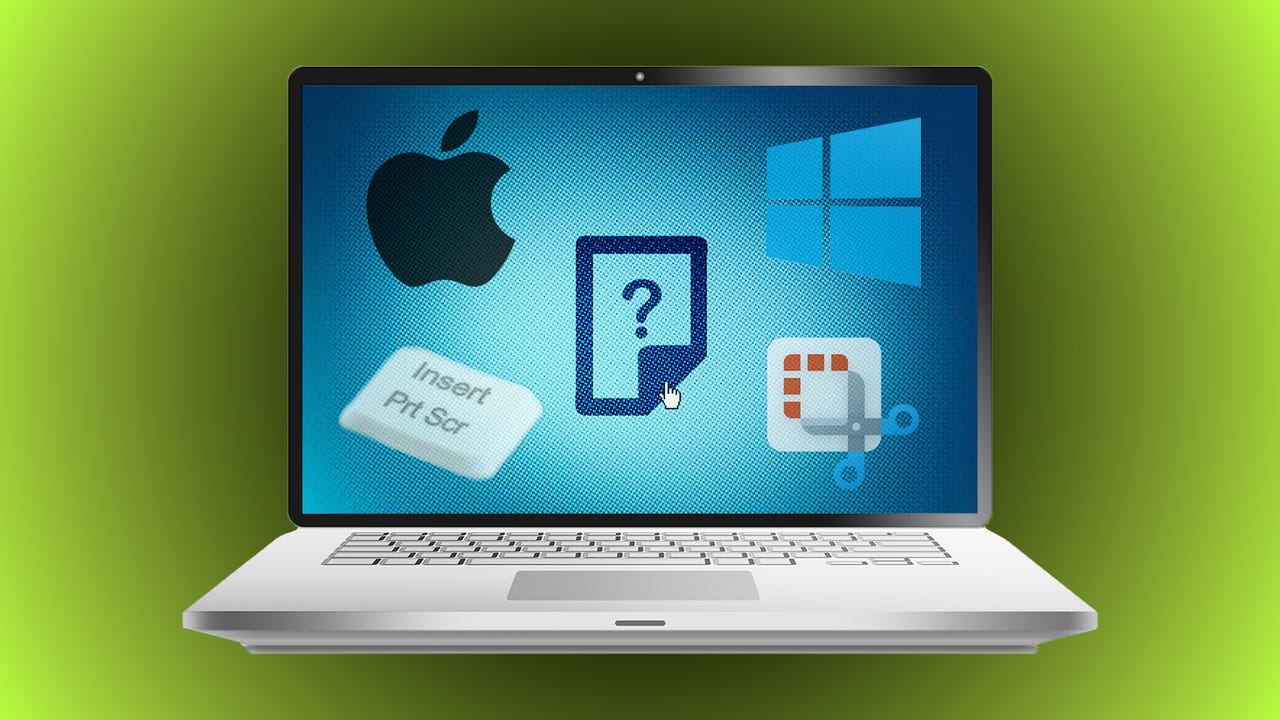
How to screenshot on a laptop (Dell, Lenovo, Mac)
Screesnshotting your laptop is a cinch if you just know the right button to press or icon to click ZDNet
Often the quickest way to keep a record of something on your PC is to take a screenshot. Whether it’s for sharing on social media or for tech support documentation, being able to quickly capture your screen is a vital skill every computer user should know. But, with all of the hardware variations between laptop models and the differences between Windows and MacOS, it can be a confusing process.
Also: How to take a full-page screenshot in Google Chrome
Let us show you how to quickly and easily take a screenshot on everything from a Dell, Lenovo, or other Windows-based laptop to an Apple MacBook.
How to take screenshots on any laptop
Requirements
You’ll need your laptop and, in some cases, basic image editing software. The entire process should two minutes or less, depending on which method and operating system you’re using.
Screenshotting on Windows-based laptops
While the process for taking a screenshot on every laptop varies somewhat, the biggest differences will be between Windows-based laptops, like those made by Dell, Lenovo, and others, and those made by Apple, which run MacOS. Let’s cover Windows-based laptops first.
Option 1: The old fashioned way
The simplest and way to capture your entire screen at once is to use Windows’ built in hotkey: the Print Screen Key. The non-standard nature of laptop keyboards mean this key might be in one of several places. Often its located near the top right, as it would be on a full-sized keyboard, but it can also be on the bottom, as it is on the Lenovo example below.
In any case, it should be easy to find by looking for the key marked Prt, PrtSc, Prnt Scr, or something similar. Once you find it, just give it a quick tap. Don’t worry if it seems like nothing happened. Windows doesn’t show it very well, but you just copied an image of your display.
The button can be just about anywhere, so just look for something that looks as similar as possible to the legend on this one. Michael Gariffo/ZDNET
Once you’ve captured your display, the easiest way to edit and save it is by pasting it into an image editing app. If you’ve got Photoshop, that’ll work, but since most people don’t have access to such pro software, a much easier, free option works, too: Microsoft Paint.
Just open this app, which has been included in Windows since time immemorial, and either hit Ctrl+V or click the clipboard button on the top left and click Paste. In either case, a capture of whatever was on screen when you hit Print Screen earlier will be pasted into the document.
From here, you can edit the image, resize it, crop it, and save it. You’ve now got a screenshot of your laptop.
An example of a screenshot pasted into the Windows 11 version of Microsoft Paint Michael Gariffo/ZDNET
Option 2: The Snipping Tool
Windows also includes a one-stop tool for taking screenshots or capturing individual windows or portions of windows. It’s called the Snipping Tool and it can be found by opening your start menu and typing in “snip.”
This handy software brings up a small menu with a + New button that will let you start a screen capture. Clicking it produces a marquee box that you can drag over the portion of your display you want to capture. When you let go of the click, you’re instantly presented with whatever was within the bounds of the box you created. You can then do some basic editing and mark up, save it using the floppy disk icon, or copy it for use in editing software.
The exact options available will vary depending on which version of Windows you’re using, but the basic functionality remains the same. The Windows 11 version is the most fully-featured yet, also supporting the easy capture of individual windows, and even a freeform mode that lets you draw around the section you want to capture.
The Windows 11 version of the basic Snipping Tool menu and its icon. Michael Gariffo/ZDNET
Screenshotting on Macs
The process on Macs uses a less intuitive hotkey, but also doesn’t require any software or pasting.
To take a screenshot on any Mac, including MacBook laptops, just press Shift+Cmd+3. Unlike Windows, this won’t copy the screen to your clipboard, it will actually save the capture as an image file on your desktop using the format “Screen Shot [date] at [time].png.”
MacOS also has its own way to capture a portion of the display. Simply press Shift+Cmd+4 and your cursor will turn into a crosshair. You can then create a box by clicking and dragging. When you release the click, whatever was within the box will be saved. Finally, Shift+Cmd+4+Space bar will capture your entire current window.
These are the three keys you’ll need to press at once on a mac to take a standard screenshot. Michael Gariffo/ZDNET
Is there an easy way to record video of my laptop screen too?
There sure is. For Mac users, we’ve already covered how to capture recordings of your system using MacOS’ built-in QuickTime player. While Windows will soon have a similar, built-in function that’s being added to the Snipping Tool mentioned above, you can use the Xbox Game Bar included in Windows 10 and 11 in the meantime to record not just your gaming, but any on-screen activity.
What’s a good, free image editing software to use on my screenshots?
At ZDNET we like Pixlr. It’s a free web app that handles most of the basic tasks you’ll want to apply to your screenshots, including cropping, resizing, and adding text. It even includes some more advanced effects like a liquify tool. If you need something even more advanced, but only occasionally, we have a guide on using Adobe’s free trial program to get short-term access to Photoshop.
Why does [insert on-screen item here] look weird in my screenshot?
There’s a few reasons why things can look strange in your screenshots. Animated items like actively playing video can often look distorted or blurry because the single moment you captured was in fast motion, or shifting between frames. Similarly, some operating system assets and portions of apps include transparencies or overlays that don’t play well with screen capture tools. Always making sure everything on screen is as still as possible when taking your screenshot to produce the best results.


Pingback: mushroom chocolate bars for sale
Pingback: Infy
Pingback: look at here now
Pingback: bonanza178
Pingback: buy cocaine online