

How to kit out your Raspberry Pi with a cool cooling case
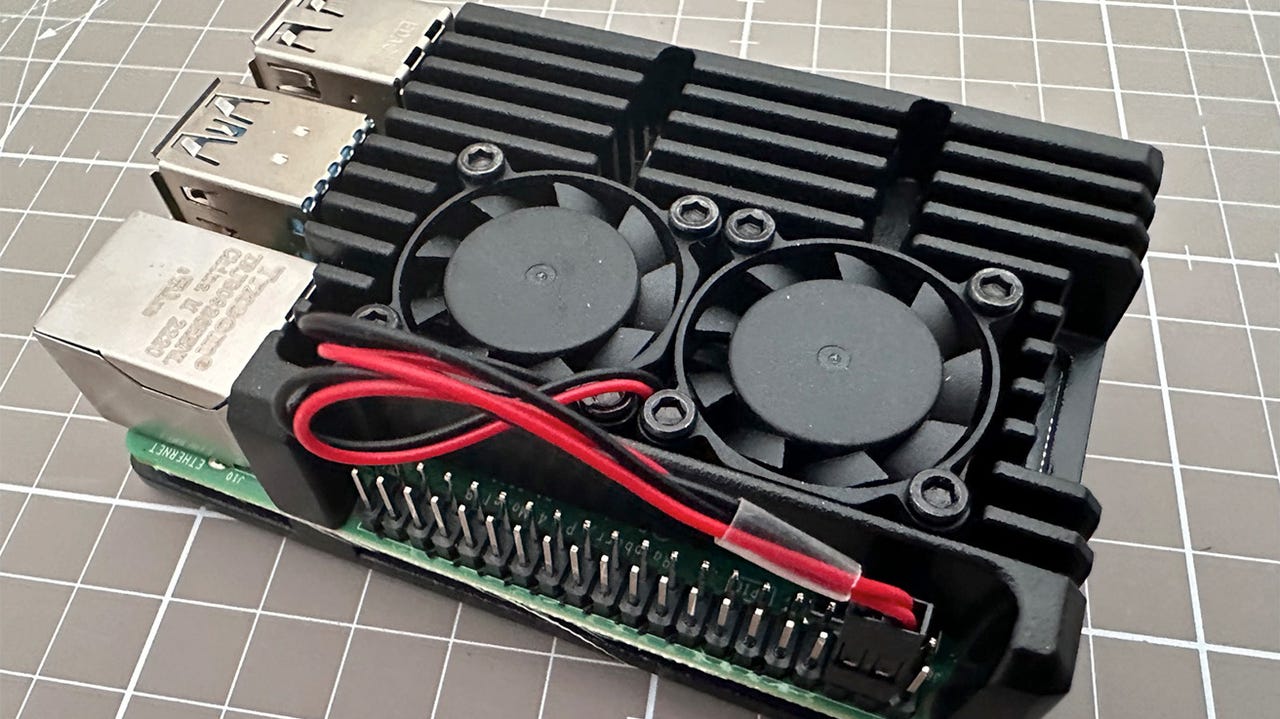
Raspberry Pi fitted with a fan-cooled case. Adrian Kingsley-Hughes/ZDNET
Most people never think about cooling their Raspberry Pi. They build a project around it, fire it up, and let it run.
But if you’re pushing your Raspberry Pi hard, then adding some cooling is cheap insurance against problems that arise from overheating — problems such as the CPU being throttled and the Raspberry Pi running slow, or even hardware damage.
The easiest way to cool a Raspberry Pi is to stick heatsinks on the chips to dissipate the heat generated.
But if you’re pushing your Raspberry Pi to the limit, then you might want to invest in a cooling case.
Don’t worry, they’re really cheap!
Also: My 3 must-have Raspberry Pi accessories
There are two types of cases – passively-cooled (or fanless), and fan-cooled. The fanless ones use less power, are quieter (although the fan-cooled cases I’ve tried are also basically silent), and don’t have a fan for your finger to jam up.
I find that most of the time when I need extra cooling, a fanless case does the job just fine. But here I’m going to show how to fit a fan-cooled case. The process is almost identical except for when we’re dealing with the fans.
Here’s how to fit the case.
Here are all the screws, thermal pads, and the Allen key needed. Adrian Kingsley-Hughes/ZDNET
On this case, the two fans are attached to the case using four fasteners each (the fasteners with the smaller heads). Screw these down finger-tight and no more.
This kit comes with four thermal pads that are self-adhesive. Peel off the paper side and stick that to the case. Then peel off the other side, and that side will stick to the chips when the case is clamped together.
Make sure to peel both sides — if you don’t do this, the cooling won’t be effective.
The first photo below shows a thermal pad before being peeled, the second shows the thermal pads fitted in place.
The thermal pads — peeling these can be tricky. Adrian Kingsley-Hughes/ZDNET
Align the two halves of the cooling case, and clamp it together using the remaining screws. Again, go finger-tight only. Overtightening can damage the Raspberry Pi.
Clamping the case together. Adrian Kingsley-Hughes/ZDNET
This connects to pins 3 and 6 on the GPIO.
Power connected to pins 3 and 5 on the GPIO. Adrian Kingsley-Hughes/ZDNET
All that’s left is to power up the Raspberry Pi!
If the fans aren’t turning, you’ve likely connected the connector to the wrong pins. Switch the Raspberry Pi off, check, and restart.
Powering up the Raspberry Pi and checking the fans are working. Adrian Kingsley-Hughes/ZDNET


Pingback: 다시보기