

How to choose the right monitor layout for working from home
atomicstudio — Getty
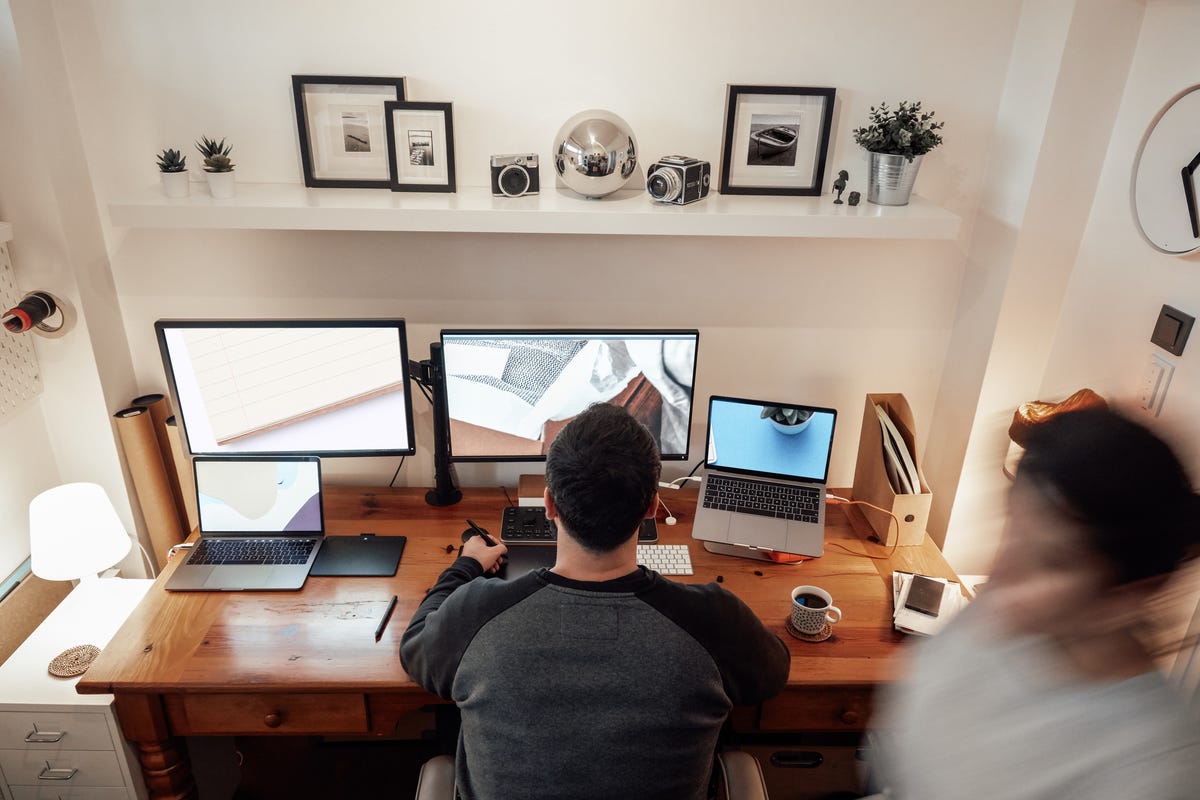
More and more of us found ourselves working from home during the COVID-19 pandemic. For some, what seemed like it would be a short-term safety measure has turned into a years-long, life-altering change to their daily lives. For others, their new work-from-home status has already been deemed a permanent part of their jobs.
The prospect of years spent hunched over a small laptop, or squeezed in front of a poorly positioned monitor may have made you realize your “good enough for now” WFH setup just isn’t good enough anymore.
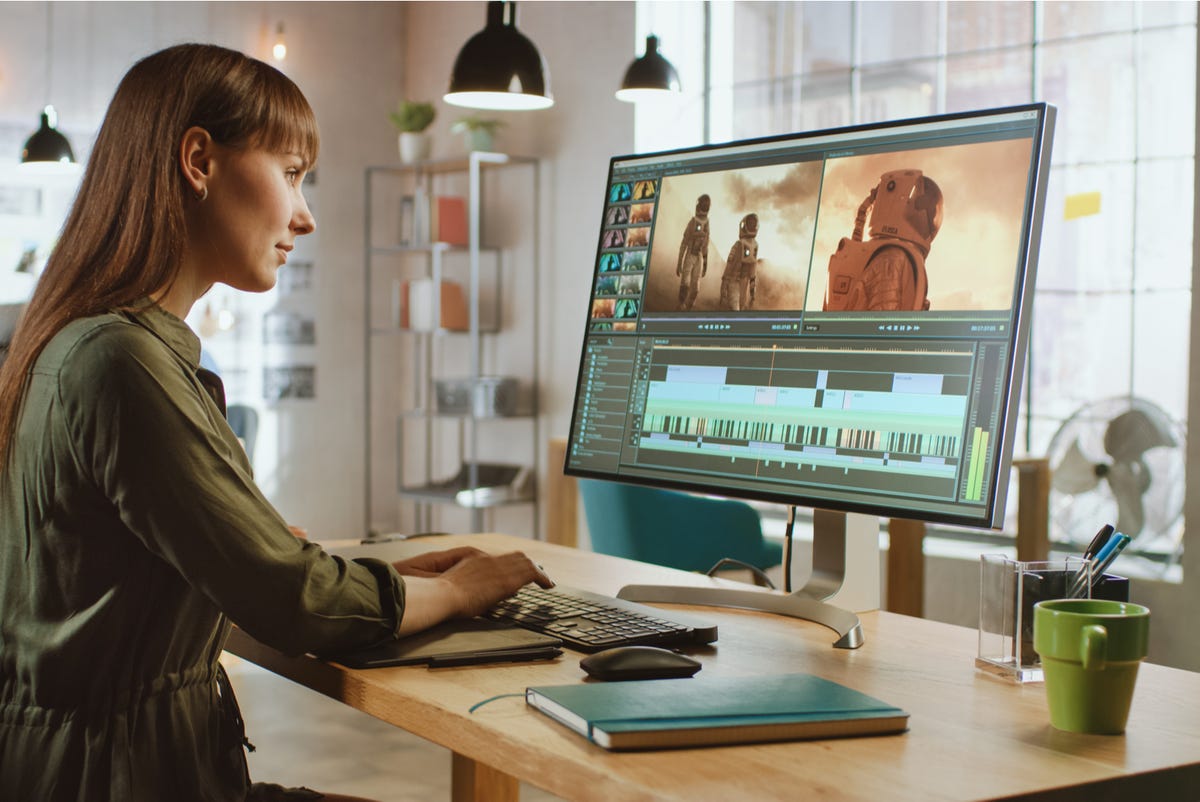
It’s more important than ever that we feel comfortable and productive in the home offices many of us spend eight plus hours per day in, and one of the biggest aspects of ensuring that comfort is an optimized and customized monitor setup. Some of us may be able to do all the work we need to on one small screen. But, for others, more display real estate is needed, sometimes far more.
This guide is designed to help you figure out which monitor layout is best for you, whether that’s an additional secondary (or tertiary) screen, a larger monitor, a less common monitor aspect ratio, or even a touch of virtual reality. We’ll help you find the best situation for your workflow, budget, and space constraints.
To make this explainer easier for all types of users, we’ll be breaking the endless variations of monitor configurations up into four main types: multi-monitor setups, big-screen setups, ultrawide setups, and virtual setups. We’ll go over the pros and cons of each, give you a basic idea of what kind of buy-in cost you might be looking at, and advise you on which types of workflows best suit each option.
Multi-Monitor Options
Of the three setup options we’ll be discussing, this is probably the one most people will be familiar with. We’ve all seen TV shows with day traders, 911 dispatchers or “hackers” sitting in front of a bank of innumerable monitors that wrap around them like a glowing womb. To be clear, we’re not talking about anything on that scale here.
We’d suggest restricting yours to two or three monitors. This gives you the best bang for your buck by balancing screen real estate and available configuration options with the associated costs and hardware needed to run them. We’ll cover both dual monitor setups and triple-monitor arrays below.
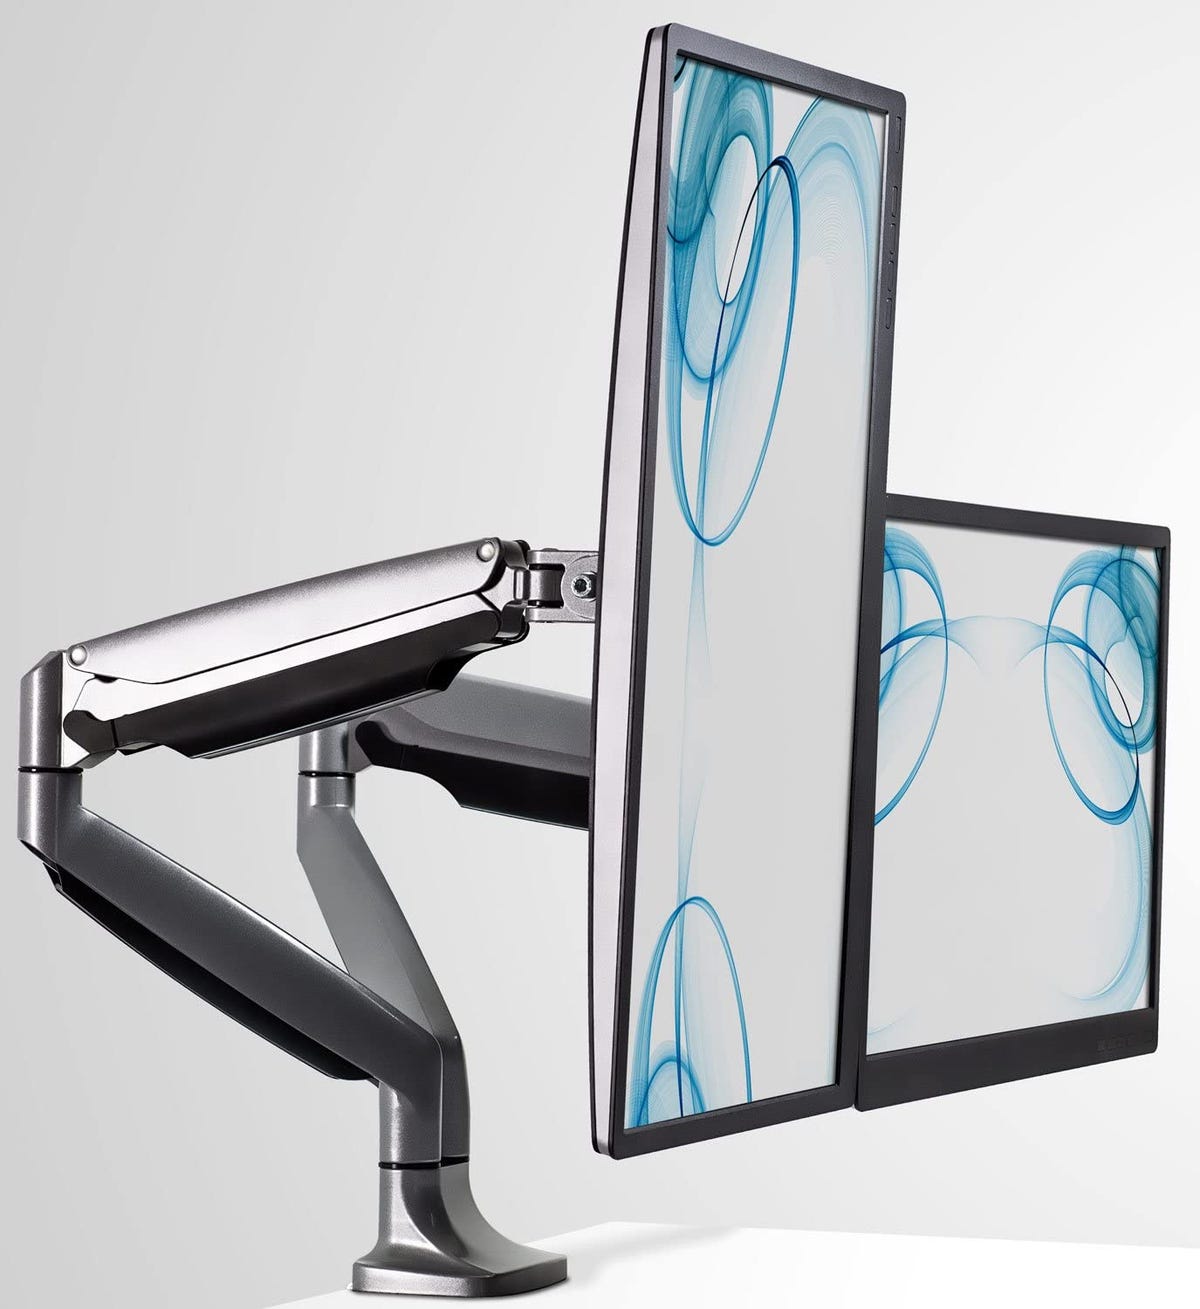
Dual Monitors
This is the easiest and usually the cheapest option for WFH warriors hoping to expand their available display space. In fact, many of us might even have an old monitor sitting around that we can add to an existing setup as a secondary display. A similar situation can also be accomplished by just using your laptop as a secondary display while shifting your primary display to a larger monitor, or by picking up an inexpensive portable monitor.

Nisian Hughes — Getty
Side-by-side
This is the most common multi-monitor setup out there, consisting of two monitors, mostly of similar size, situated next to each other. The obvious benefit is a doubling of screen, with the option to keep your active work on one monitor with references, Slack chats, Zoom calls, or anything else you like on the secondary monitor. I’ve often run across people that don’t fully understand just how useful this simple extra screen can be. That always changes the first time they spend a day without switching between windows hundreds of times for a single project. The saved time and effort provided by having everything visible at once over the course of an eight-hour shift can be life-changing.
Even if you don’t have two similarly sized displays, a larger main display with a smaller secondary screen can be just as useful. Sure, aesthetically pleasing configurations with two perfectly matched monitors separated by tiny bezels might be ideal, but don’t let a vain desire for such a thing stop you from enjoying whichever version of a dual monitor setup would work best for your budget.
Amazon
Landscape/portrait combos
While the most obvious setup that comes to mind might be a simple side-by-side configuration with both monitors in traditional landscape orientation, don’t discount the possibility of putting one of those monitors in a “portrait” format, where it’s longest dimension is its height. This may add a bit of difficulty if your display’s built-in stand doesn’t support rotation, but it’s well worth the extra cost of an inexpensive desk mount, wall mount, or replacement stand for the right user.
That additional vertical space can be incredibly useful for everything from seeing a larger segment of your Spotify playlist, to being able to read entire press releases or articles at once without scrolling, to just stacking two smaller windows vertically. In a world where so much content is produced to be displayed on tall, narrow smartphone screens, you may be shocked how much better the formatting looks on some of your favorite apps and sites as well.
It’s important to note that your PC will also need to be able to support two monitors. Essentially all modern, standalone video cards can support at least two displays. However, given the ever-increasing difficulty of obtaining such hardware, many of us may be working from built-in motherboard video outputs or laptops. This doesn’t mean you’re out of luck, however. Many laptops and desktops support video output via USB-C via the Thunderbolt protocol, or via a variety of adapters and hubs, in addition to their standard video port (typically HDMI).
The specific USB-C options will vary from manufacturer to manufacturer, but a wide variety of configurations are supported by popular models like Apple’s MacBook line, Lenovo’s ThinkPad and IdeaPad lines, Dell’s XPS models, HP’s Spectre line, and many, many others. Check your device’s spec sheet for the full details on what USB-C-based configurations may be supported for video output.
Dual monitor setup pros and cons
Pros
-
Typically the cheapest option thanks to the need for only one extra display on top of the one you already own.
-
The easiest to run, with most laptops and modern desktops being able to support at least two displays.
-
Versatile enough for most workflows, and compact enough for all but the most cramped desks and workspaces.
Cons
-
Doesn’t offer as much extra screen space as the other options here.
-
Symmetrical layouts can place the bezel centrally between monitors in the middle of the user’s vision, while asymmetrical layouts can be annoying due to constantly needing to turn your head to the left or right.
-
Like all multi-monitor configs, differences in color accuracy, brightness, and other metrics may be noticeable if each monitor is not the exact same model with identical settings.
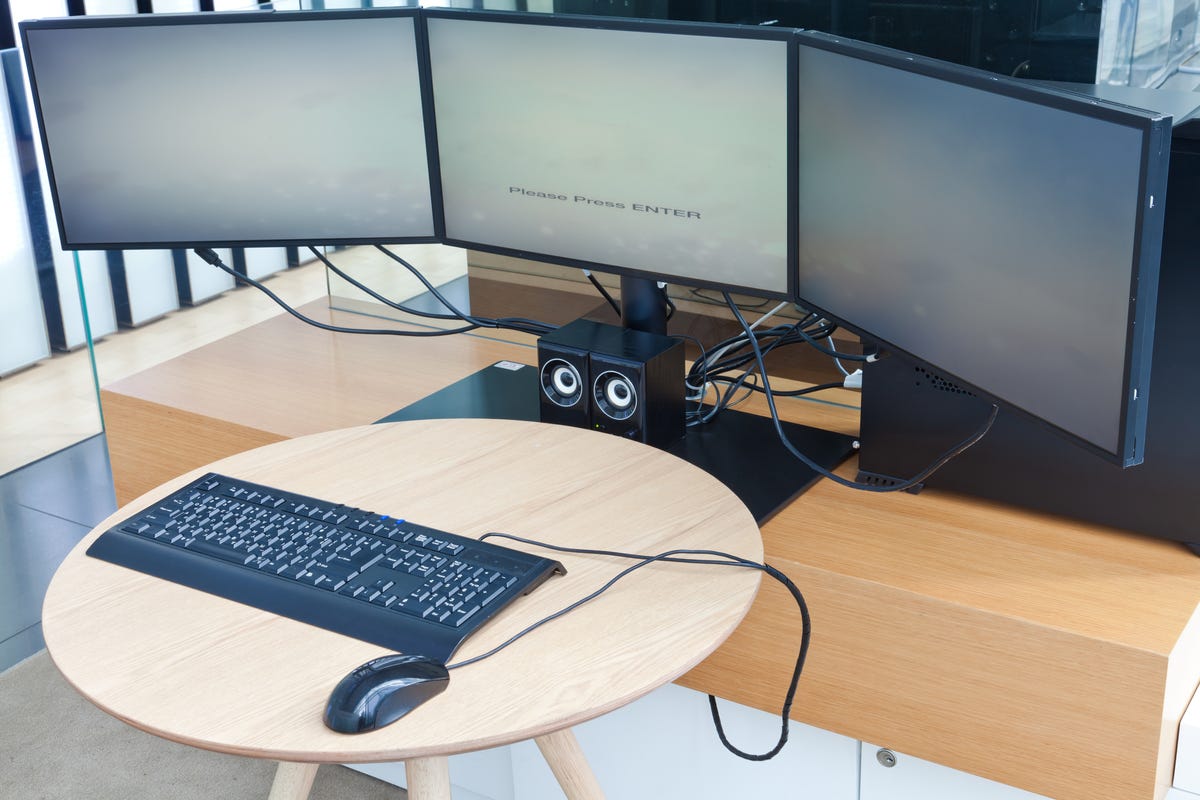
Triple monitors
Triple monitor displays obviously require more of an investment, both financially and in physical space. However, they provide some real-world benefits to the right worker beyond just additional desktop space. They also offer even more flexibility than dual-display setups thanks to the option to keep all three displays in landscape mode, or flip anywhere from one or all three of them into a portrait configuration. We’ll cover the simplest side-by-side-by-side configuration and more exotic options below.
loonger — Getty
Side-by-side-by-side landscape displays
This is once again the simplest layout in which all three monitors are organized in a landscape configuration across a horizontal space before the user. Setups like this were popularized, in part, by gamers that wanted an immersive experience for genres like flight and racing sims, but they provide a variety of benefits for the most serious-minded and practical worker as well.
More: How to build a gaming PC for under $600
Once again, those benefits follow the dual-monitor equivalent and expand upon them by adding a third display. Imagine keeping that spreadsheet or document on a primary display while your reference lives on your right display and your Slack chat stays on your left, all three instantly available at a glance.
This prevents you from suffering through situations where you have to switch away from your work to read your reference, lose your place, find your place, realize you’ve forgotten what it was you wanted to remember from your reference piece, go back to it, and finally start typing the required info into your workpiece only to hear a frantic Slack message come in that immediately needs your attention. I honestly wish that was a fictional scenario, but I think for many readers (and myself) it’s all too familiar.
Dotshock — Shutterstock
Triple-monitor setups with a portrait display
Another popular orientation for triple monitor layouts is one in which a central display is used in landscape mode while two side displays are oriented in portrait mode. I’ve heard this called everything from a “Tie Fighter” layout (referencing the Star Wars ship’s vertical side-wing orientation) to the emoji-inspired “I=I layout” (mimicking its appearance), to a selection of other configuration names. While this setup (seen in the foreground of the image above) may not have a standardized name, I personally find it to be one of the most useful and versatile.
Like the dual-monitor examples with a vertical component, this layout supports a variety of workflows, offering both horizontal and vertical spaces for whichever aspect ratio best supports the window in question. Working on a long spreadsheet? Toss it on a side monitor in portrait mode. Creating a wide banner for your website? Use the central display in landscape. Got a Zoom meeting you’re “attending” while the game’s on? Stack them both on a side display so your boss can’t tell which you’re looking at (disclaimer: I do not endorse such irresponsible, shiftless behavior, nor would I ever participate in it…).
Similar setups work with two landscape monitors and one portrait monitor. As with all of the suggestions here, you should experiment a bit to see which orientations best suit your personal workflow. Some users, like software engineers with tons of code to write, even find it useful to run three monitors in portrait mode side by side by side.
Triple monitor setup pros and cons
Pros
-
Arguably the most versatile option, with tons of varied layouts based on your particular need.
-
Still uses relatively cheap, smaller displays and can support a grab-bag of sizes and resolutions.
Cons
-
Requires a PC with three video outputs, likely limiting it to standalone video cards and high-end laptops, though some workarounds exist.
-
Requires probably the most desk space of any option on this list aside from the largest big-screen displays or super ultrawide monitors covered below.
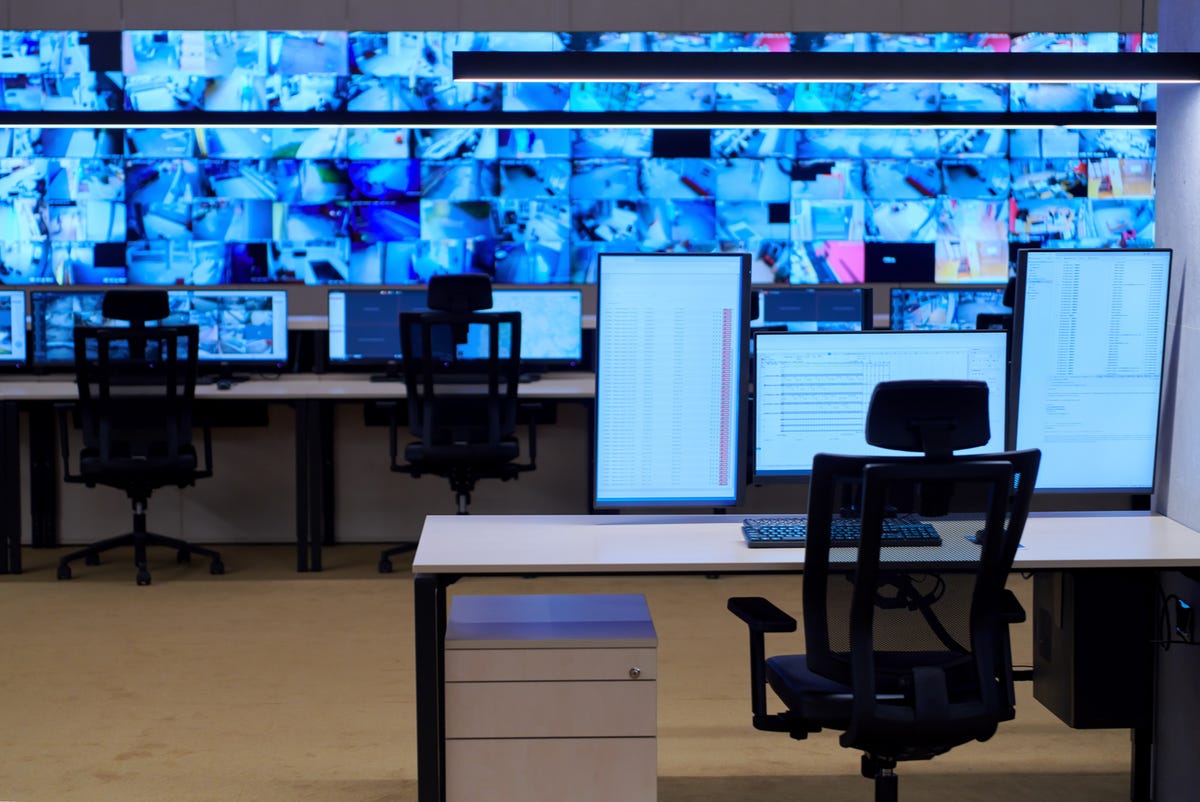
Gorodenkoff — Shutterstock
Big-screen monitors
Need more screen space? Get a bigger screen! It seems like an obvious answer to a common problem, but it wasn’t always as easy or affordable a solution as it is today. The expanding availability of 4K resolution monitors and televisions, as well as PCs powerful enough to run them, means that larger displays with pixel densities high enough to withstand the proximity most users need are more widely available than ever. Along the same lines, the prevalence of those displays has also pushed prices down to the point where a single 35-inch+ monitor can often be had for less than $500.
35-inch+ displays with 4K resolution
Big-screen monitors are ideal for users that like having tons of windows open at once, especially those that are alright with those windows being situated in irregular patterns across the screen. It’s the easiest thing in the world to toss a needed window up into one corner while your word processor doc takes up the center and your other necessaries are scattered around both. If this potentially chaotic array of windows sounds like heaven to you, great! If it sounds like the other place, you still don’t need to discount big-screen monitors as a possible option.
For those that get sweaty just thinking about using a window that wasn’t properly maximized and aligned, there are many, many window management options out there that can make a single, large display just as ideal for windows organization as several smaller displays. Windows and macOS both include their own, basic window management features. For Windows, it’s simply a matter of dragging the window you choose to an edge or corner and letting the operating system do the rest. For MacOS, a long-click or hover over the green full-screen button on the top left of your window will provide basic options to snap to the left or right side of you current display. It will even provide options to move the window over to compatible Apple devices, such as iPads, via the new MacOS/iOS Universal Control feature.
We’ve even created a pair of handy video guides to help you learn how to use the time-saving window management features of Windows 10 and MacOS in just a couple of minutes.

Microsoft
More advanced options are also available via Microsoft’s Power Toys “FancyZones” module, which lets you split your screen into numerous customized zones. Third-party solutions for Windows like AquaSnap, or options for macOS like Rectangle or Magnet are also great ways to wrangle your windows. Sure, it does require you to install and run an extra (sometimes paid) app, but most of these are light enough on system resources that you’re unlikely to notice they’re even running until you need them to get that window positioned just how you like it.
Big-screen monitor setup pros and cons
Pros
-
Offers just as much screen real estate as some double or even triple monitor displays, while maintaining the simplicity of a single-monitor solution.
-
Requires only a single video output, making it easy to run with any PC supporting a 4K video output.
-
Adds the possibility of using lower-cost 4K televisions as displays (although this does come with the caveat that not all TVs are able to go into standby if you like leaving your PC on at all times).
Cons
-
Requires additional software to bring the organizational possibilities in line with multi-monitor options.
-
Likely represents a more costly initial outlay, unlike multi-monitor setups which can be purchased piecemeal.
-
Finding aftermarket stands and mounts that can support larger displays can be difficult and very expensive (often $200+, at least).
Cigdem — Shutterstock
Ultrawide setups
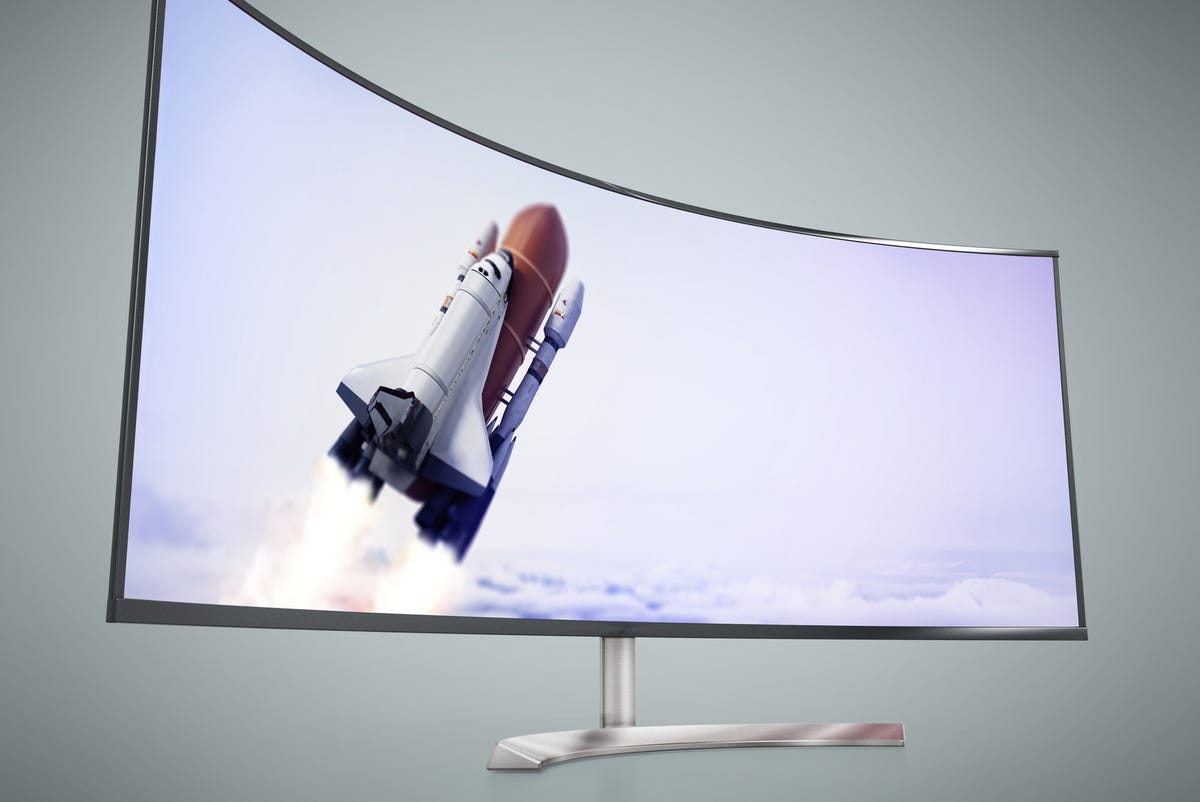
Ultrawide monitors are a category of typically-curved display that takes the traditional 16:9 aspect ratio most of us are intimately familiar with from our televisions and stretches it width-wise to ratios like 21:9 or even 32:9 on some “super” ultrawide displays. These monitors have been around since long before the current upswell of big-screen setups, and were originally designed to be more immersive than multi-monitor displays by eliminating the associated bezels between screens in favor a single, wider monitor.
21:9 ultrawide and and 32:9 super ultrawide displays
This format of monitor became a fast favorite of the aforementioned racing and flight sim users looking for a single-screen option, and also quickly gained a cult following among productivity enthusiasts for their similar ability to replace a side-by-side setup with a one-screen solution. Like their big-screen counterparts, they can require some additional windows management trickery, but generally not as much. This is due to the fact that the screen is being expanded only across the horizontal axis, as opposed to the horizontal and vertical expansion caused by using a large 16:9 display like those mentioned above.
Standard ultrawides (typically 21:9 models) can perform the same duties as a pair of side-by-side displays, while some super ultrawide models like Samsung’s Odyssey G9 lineup can actually replace a triple-display setups by forming nearly a half-circle of screen.
This reliance on horizontal space can make ultrawide displays less than ideal for the types of users that were excited by the earlier promises of long spreadsheets and press releases being visible all at once via extra vertical space. However, many users that never find themselves in need of so much Y-axis room see the ultrawide form factor as the perfect balance of convenience, immersion, and space-saving design.
Ultrawide monitor setup pros and cons
Pros
-
Provides a one-product way to get a side-by-side or side-by-side-by-side layout while buying and running only a single monitor.
-
Does not require the more advanced windows control apps that some users might need to make a big-screen display viable.
-
Provides as much screen space as two or three monitors using only a single video connection.
Cons
-
Particularly difficult to mount due to the leverage brought on by the front-heavy nature of monitors using curved displays.
-
Super ultrawide models can be extremely expensive for their given resolution and refresh rate specs.
-
Curved displays require deeper desks to accommodate their full depth.
Immersed
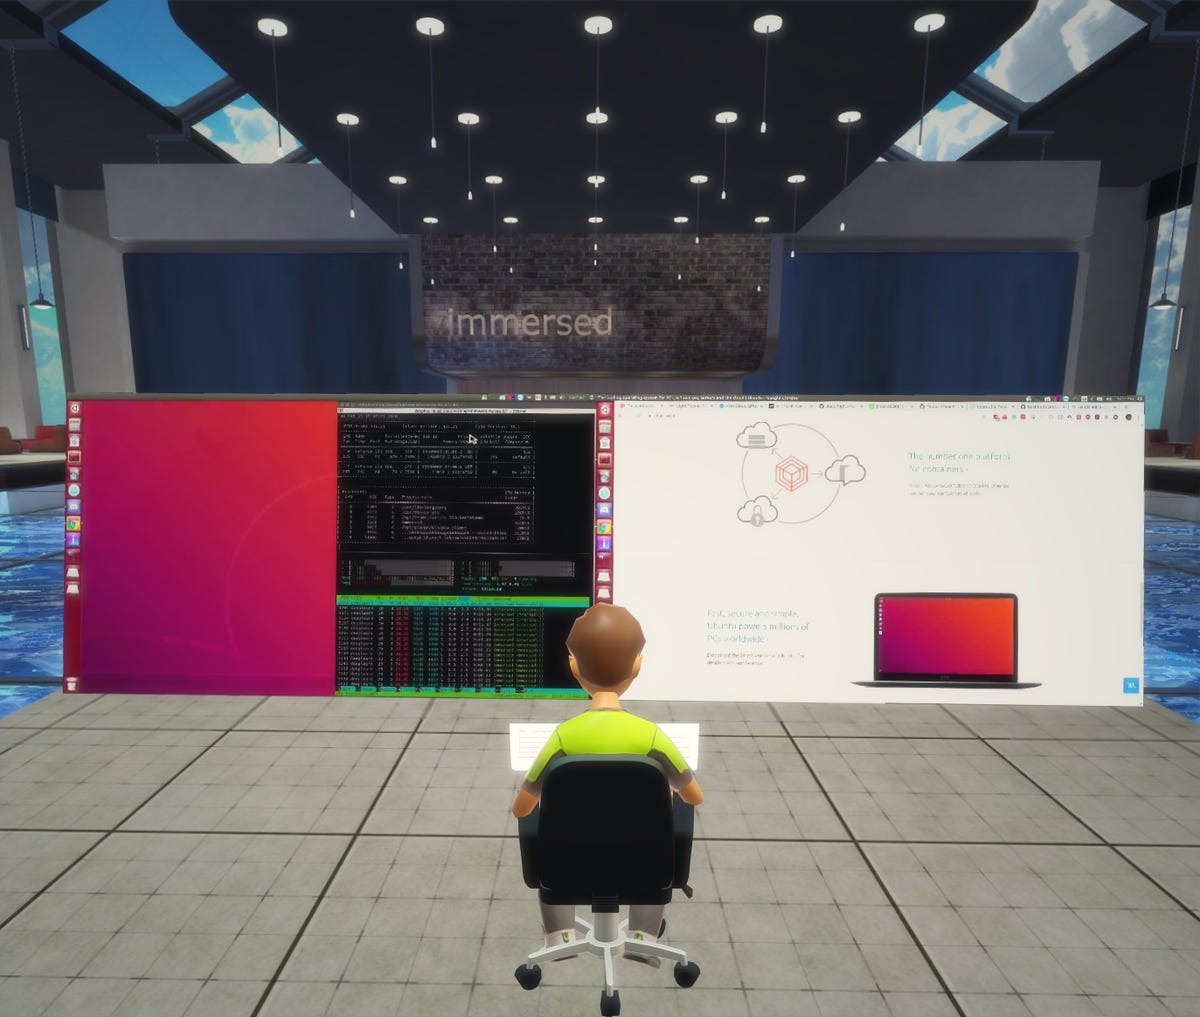
Virtual setups
This is a category that may seem like something of a joke to begin with, but it is one that is quickly gaining in popularity due to its versatility, capabilities, and, surprisingly enough, low cost of entry. Proponents of setups like this one really do regularly spend their workdays operating exclusively within virtual environments, and, with the help of a few tools, find them far superior to what a physical setup can provide.
To clarify, no monitors are involved in this type of setup at all. Instead, you’ll be using any one of the currently available VR headsets designed to work with a PC (sorry PlayStation VR owners). Head-mounted displays like the Meta Quest 2 (formerly Oculus Quest 2), HTC Vive series, or any of the Windows Mixed Reality models from companies like HP and Samsung can all be used. Aside from one of these headsets, and their accompanying controllers, all you’ll need on the hardware side of things is your standard keyboard and mouse of choice. Got all that? Then you’ve got immediate access to a virtualized version of every single monitor configuration we’ve mentioned here, and nearly any one you can dream up as well.
This is made possible by a class of VR apps that are specifically designed to either take your PCs actual desktop and bring it into virtual space, or create additional virtual desktops and project them onto multiple virtual monitors that you can create, resize, move, and configure however you feel is best for you. Ever wanted to fill out spreadsheets on an IMAX-sized display? Now’s your chance. Rather be wrapped in a cocoon of 10 displays all tracking a different stock? That’s a possibility, too.
Software like Virtual Desktop, Immersed, or even the Meta Quest’s built-in virtual desktop mode can all accomplish these setups to different degrees. The Quest even offers the option to create trackable, virtual representations of supported keyboards to match what you’re typing on in real life with what your virtual avatar’s fingers are doing.
Of course VR also brings with it the possibility of being able to meet up virtually with coworkers, visiting virtual office spaces like conference rooms, training scenarios, live events, and anything else companies dream up for the “metaverse” everyone suddenly seems to be talking about.
While the promise of an in infinitely configurable, infinitely customizable workspace that can exist anywhere (imagine having a nice view of Saturn or a dragon’s lair from your office window) certainly does sound appealing, the current reality of the situation does require some tempering of that enthusiasm. Modern VR headsets are getting smaller and more capable every day. But, even one of the lightest and most capable on the market currently, the Meta Quest 2, would likely be too much for most people to bear weighing down their heads for more than a couple of hours at a time.
Another major limiting factor is the resolutions of modern headsets. Having your eyes so close to the tiny displays in front of each eye can create the dreaded “screen door effect,” causing you to be able to see individual pixels, and making it nearly impossible to see things like small text. Sure, there are options to resize everything to help circumvent such limitations, but the use of VR will likely include a few too many caveats and extra steps for the average office worker. That said, there are already headsets on the horizon that could eliminate most, if not all of these weaknesses. It might only be a few more years before a VR-based setup is just as practical as any other on this list.
Also: Best VR and AR headsets
VR monitor setup pros and cons
Pros
- A Meta Quest 2 is only $300, putting it at a price point that’s lower than many of the monitor form factors we’ve mentioned here, with all of the extra functionality it can provide.
- The virtual monitors you create can far exceed what even the most generous office space could accommodate, and can be reconfigured at a moment’s notice to dynamically adapt to changing workflows.
- Assuming you’ve got a strong 5GHz Wi-Fi signal and a relatively capable laptop, you could literally fit the multi-monitor or big-screen setups of your dreams in any backpack that’ll fit a headset and notebook.
Cons
- Being required to wear a VR headset for extended periods of time will likely make this option a non-starter for most.
- Initial setups can be quite involved, and may be too intimidating or inconvenient for those without the technical know-how and drive to create their virtual space.
- Your real-world sensory awareness will be greatly hindered, although most VR headsets support spatial audio that at least allows real-world sounds in, if not sights.
Which monitor layout is right for me?
This is where I lay the dreaded “this is something only you can answer!” line on you. However, I’m not going to leave it at that less-than-helpful idiom. My best suggestion is that you take a good, long look at your workflow and ask yourself a few questions:
-
Do I need more vertical or horizontal space? This will help determine several things. First, if vertical space is vital, you can eliminate both ultrawide setups and any multi-monitor setups that don’t include at least one portrait-mode display. If maximum horizontal space is most important to you, then the ultrawide category is very likely your best bet from a cost and efficiency perspective. If you require a mix of both, then a hybrid landscape/portrait multi-monitor setup or a single big-screen display is your best bet. VR setups can, of course, support both dimensions, assuming you’re considering them an option at all.
-
How many monitors can my system support? It’s absolutely vital to investigate this before attempting any major changes to your monitor layout. If the answer for your system is one, you’re going to have to stick with either a single ultrawide or a single big-screen display, assuming your system can support 4K resolutions for the latter. If you have the option to connect multiple monitors, then your choices are far more varied. The virtualized displays mentioned above can also provide options well beyond what the physical ports on your PC could accommodate.
-
How much desk space do I have? This applies to both the width and depth of your desk. Wider desks may be able to easily accommodate big-screen and dual or even triple-screen setups, but they may not have the depth needed for a curved ultrawide. Similarly, deeper desks can fit an ultrawide with ease while they may struggle with the extra width required by some triple-screen configs. Your best bet is to carefully go over the dimensions of your prospective displays (with and without stands) and see which would fit best within your available desk space. Virtual desks, well, they can accommodate a movie theater worth of screen space, as long as you’re alright working in a headset while using it.
-
How much will I need to spend on stands, mounts, or arms for my monitor(s)? Simply put, the larger or more creative your setup gets, the more likely it is you’ll need to buy aftermarket mounting options. Some of these can get quite pricey, especially if you’re looking for options with gas-assisted arms capable of moving the monitors attached to them vertically, as well horizontally. Some massive models like the aforementioned Samsung Odyssey, can only be handled by their own very sizable stands, or monitor arms that cost in excess of $400. Even some wall mounts designed for 65-inch+ televisions can fail due to the massive leverage induced by the forward edges of their sharply curved display. If you want to save cash, look for monitors that include stands that will suit all of your needs, out of the box. Failing that, consider monitor risers that can add height to make existing stands more adaptable, or experiment with a hybrid approach that uses both default stands and wall or desk-mounted arms.
Revamping your personal monitor setup may not have occurred to you before, or it may be something you thought was too expensive to consider. Hopefully we’ve shown you just how easy it can be to plan after a little reflection on what your most pressing needs are. With these options in mind, it’s time to start thinking about your budget, designing your workspace, and picking out wallpapers for your new layout. It’ll take a bit of elbow grease, and as much expense as you choose, but when it’s done, you’ll understand a whole new level of WFH comfort you may never have realized was possible.


Pingback: ทีเด็ดฟุตบอล